Sunday, January 29, 2017

My Task

I finally started on the boxes and boxes of pictures, papers, and miscellaneous items from my mom and dad's house. What a task! So far, I've mostly worked on pictures, sorting them into several piles: for my siblings, cousins, to scan, etc. This is the easy - but time-consuming! - part. Figuring out what to do with really old scrapbooks and really old pictures and all the letters that my dad wrote to my grandma when he was in the army in World War II, when he was just eighteen - that will be hard. But, someone has to do it, and I'm the someone:) At least I got the boxes off of my treadmill, which is a good things, because we've stopped walking outside, and haven't been very faithful about going to the dome to walk. Wish me luck! :)

Thanks so much for stopping by, and I hope you'll come back and visit again soon!

Saturday, January 28, 2017

Pink Birthday

The last time I was in my stamping room (seems like many moons ago!) I left this card almost finished. The pieces were all done and sitting on my table. So, I took a few minutes today and put it together.

The flower and butterfly were cut with Stampin' Up! dies, borrowed from a friend. I cut the butterfly out of purple, and cut the flower out of white. I colored the flower with Copics. The sentiment is from Impression Obsession, and I cut it out with a Memory Box stitched rectangle die. The dotted paper is from Bo Bunny. I added three small gems to the butterfly.

Thanks so much for stopping by, and I hope you'll come back and visit again soon!

Sunday, January 22, 2017

Serene Christmas

Another Christmas card. They just seem to "happen." I came across a sheet of gold stickers (from Elizabeth Craft) that had just this one tree and a few stars left. I used the tree, and the stars will get put away for another time!

I added the tree to a small piece of white cardstock. I took another scrap and tore a curve on it. I rubbed the edge with Versamark and put gold embossing powder on it. I found this small Merry Christmas stamp (from My Favorite Things) and used gold embossing powder for it, too. I mounted the small "snow" piece on foam squares. I matted the image panel with shimmery gold paper and added it to a white base.

Thanks so much for stopping by, and I hope you'll come back and visit again soon!

Saturday, January 21, 2017

Ornament Christmas Cards

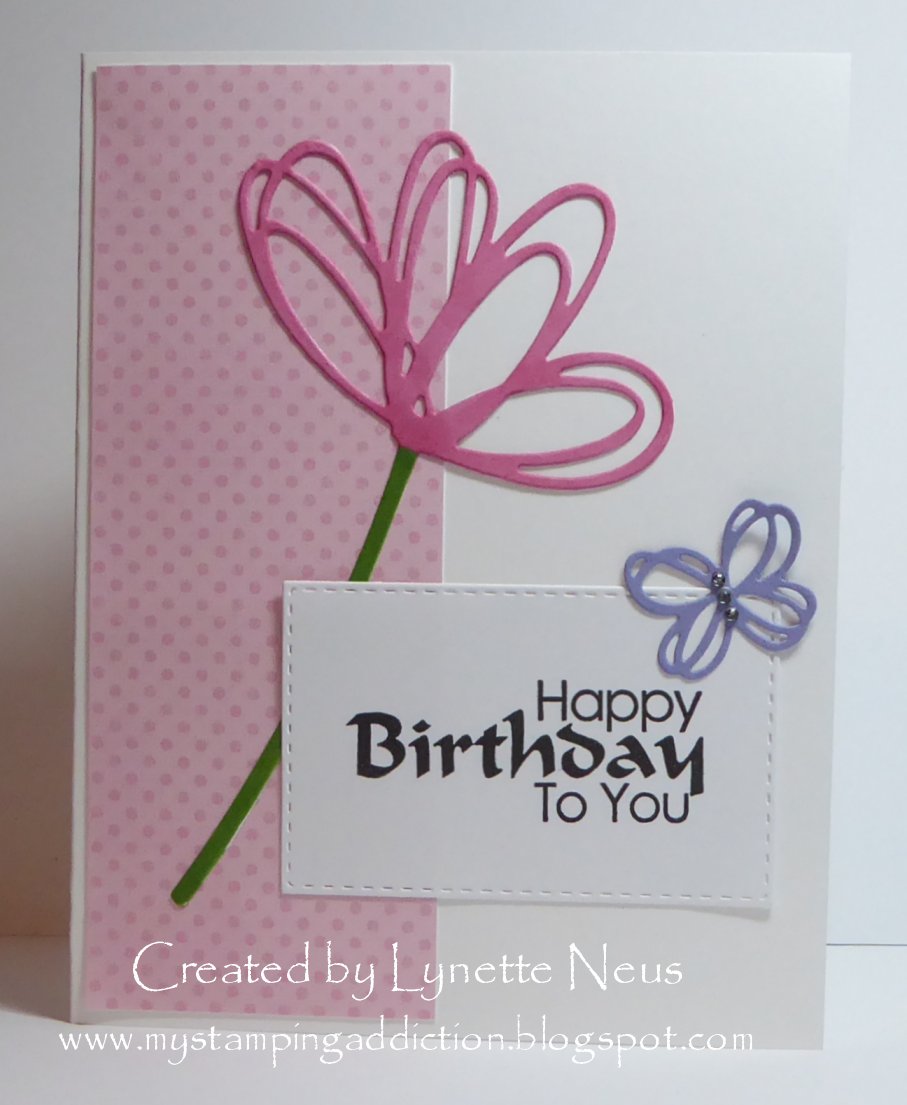
While searching for a small "Merry Christmas" stamp, I came across these stamps and dies from My Favorite Things. I've had them for a couple years and have never used them. I thought it was about time. AND, since they had not been used by me, they are NBUS (Never Before Used Schtuff) and therefore qualified for Darnell's NBUS challenge! Please follow the link for details.

Both cards are the same, except the ornaments have different patterns and are different shapes. I stamped the ornament patterns on red cardstock with Versamark, then used detail gold embossing powder on them and cut them out with dies. There was a die in the set to cut the ornament tops, too, and I did them out of shimmery gold paper. I used some mini brads and some gold cord to finish them off. The sentiment is embossed with gold, also. I matted the entire panel with the same shimmery gold paper.

Thanks so much for stopping by, and I hope you'll come back and visit again soon!

Friday, January 20, 2017

Cheery Flower Birthday

Just a simple card to share with you today, to celebrate spending some time in my stamping room! Actually, I had a friend over to stamp yesterday, and we had a great time. She got LOTS of cards done, and I watched - and found her some things she needed. I made this card last week, I think, and made a couple Christmas cards yesterday.

All of the stamps on this card are from a Gina K set. I added a strip of Washi tape across the top and matted with matching cardstock. I mounted on foam squares and added the image panel at an angle on the card front. The image panel and card base are ivory.


Thanks so much for stopping by, and I hope you'll come back and visit again soon!

Sunday, January 15, 2017

Hello Birdie

Another short stint in my stamping room, and more card parts:)

This bird was already cut and colored and mounted on foam squares, so I combined him/her with another scrap on my table - the white strip with the lines embossed with my Scor-Pal. I added the "hello" which I cut using one of my new Darice sentiment dies. I matted the white piece with a leftover scrap from the piece I covered the card front with. I also mounted the sentiment panel on foam squares. The patterned paper is from a new Bo Bunny pad I got for half price at JoAnn's.

Thanks so much for stopping by, and I hope you'll come back and visit again soon!

Saturday, January 14, 2017

Calendar Files Uploaded

Just a short "FYI" post for today. Yesterday afternoon I added the links to the Excel files for the calendars for 2018 and 2019. You can find the links in the tab under my blog title.

I'd love to hear from you if you use them! (Thanks, Sharon, for the nudge I needed to get the new ones uploaded!)

Thanks so much for stopping by, and I hope you'll come back and visit again soon!

Friday, January 13, 2017

Stenciled Birthday

When I ordered some new embossing folders last month, I also got one set of sentiment dies and one stencil. For today's cards, I used different parts of the stencil. The stencil is by The Crafter's Workshop and has eight small patterns on it. For each card, I used a different design and a stamp from a Stampendous birthday set.

I used purple distress ink applied with a sponge on this first card. I added three flowers that I got in a pack from Hobby Lobby last summer. You can't tell by the picture, but they are glittery.
For this second card, I used Stampin' Up! ink and a stipple brush. I added three black "nail heads." The panel is mounted on foam squares.
This one again uses distress ink applied with a sponge, and is also mounted on foam squares.

Thanks so much for stopping by, and I hope you'll come back and visit again soon!

Thursday, January 12, 2017

More Christmas Joy

I had previously stamped and colored this image from Inkadinkado with Copic markers. I also added some sparkle with Wink of Stella on the bell. I simply matted with black and added to a scrap of green that was sitting on my table. The image and the cardbase are ivory.

Thanks so much for stopping by, and I hope you'll come back and visit again soon!

Wednesday, January 11, 2017

Christmas Joy

More card parts - a great way to get one's mojo back! :)

These three stamped and matted letters were in my card parts. I mounted them on foam squares and added them to a strip of red that was also in with my card parts. The letters are from a Stampin' Up! alphabet set (I believe, anyway) and were cut out with a punch. The matting was done with a punch, too. I had first used a pearl-y shimmery paper for the embossed background, but it was too "fancy" for the whimsical letters, so I did it again with plain white cardstock. The snowflake embossing folder is from Sizzix. I've now got a start on my 2017 Christmas cards!

Thanks so much for stopping by, and I hope you'll come back and visit again soon!

Tuesday, January 10, 2017

Rose Sympathy

Yippee - I have some cards to share with you! Yesterday while Jim went to have coffee with friends, I went into my stamping room. And during the night, when I should have been sleeping but I was wide awake, I went back into my stamping room. And then this morning when I got up (after just about three hours of sleep) I went into my stamping room to take pictures of the cards I had made, and I finished one more! It was fun. I now have six cards to share. Nothing spectacular, but it's a start. (We also tackled our closet yesterday. We took EVERYTHING out of it, except for the hanging clothes that we decided to keep. When we moved in four years ago, the master closet became the "catch-all" and we had never gotten around to fixing that. Yesterday was the day. We've not quite finished putting everything back into it, but we've pretty much gone through everything. THAT feels good, too!)

Anyway, back to this card. The stamped and matted rose was in my card parts. I believe the stamp is from Inkadinkado and was colored with markers. The ovals were cut with Nestabilities. I mounted it on foam squares. The sentiment is from Papertrey. The image was stamped on a textured paper and the cardbase is ivory.

Thanks so much for stopping by, and I hope you'll come back and visit again soon!

Sunday, January 8, 2017

Paper-Pieced Birthday

It seems like forever ago since I've able to spend some "alone" time in my stamping room. Maybe this week:) I did spend some time with our granddaughter in there last week while they were visiting with us, though. That was fun!

So, I thought I'd show Amelia paper piecing. I still had my "new" items from Gina K out on my table. (The stamps I used on this card are both from a Gina K set. I think I got my Gina K order in November.) I stamped the bird on some light blue dotted paper and carefully cut it out. Then I stamped it on a rectangle of white and colored the image, except for the bird's body. I matted with matching cardstock and mounted on foam squares. I embossed the background with a new-to-me embossing folder from Darice and matted with the same color cardstock. 

EDITED TO ADD: Hanny (and others), I did not get your private email. Sorry. The name of this embossing folder by Darice is Gem Swirl. I got mine from Consumer Crafts, but I'm sure it's available many places. Here is a link. (When I got mine, they were buy-one-get-one-free with free shipping at $30. I couldn't resist!)

Gosh, I hope to do something new sometime soon, but I still have so much that I HAVE to do - like go through my stamping stuff and purge, clean our closet, and, most importantly, go through the boxes and boxes of photos and papers from my mom and dad's house that are sitting on my treadmill, for lack of a better place to keep them. (We've been walking at an indoor dome.)

Thanks so much for stopping by, and I hope you'll come back and visit again soon!

Sunday, January 1, 2017

Happy New Year!!! ... and January Calendar Page

Happy New Year to all!!!

Here is my first calendar page of the New Year. The snowman with snowflakes image is from Hampton Arts Outlines. The sentiment (which I cut into three pieces) is from My Favorite Things. I colored with Copics and added some sparkle with Star Dust Stickles. I matted with lavender cardstock.

If you would like to print and make your own calendars using my blank calendar file, you can find the Excel file and the cutting instructions in the Calendar tab under my blog title. I'd love to hear from you if you do!

Thanks so much for stopping by, and I hope you'll come back and visit again soon!